Session 3: Learning to manually retouch a photo
Jump to:
Brightness/Contrast
Variations
Photo Filters
In this lesson, you will learn to adjust the brightness/contrast, apply variations, and select photo filters to an image.
Click on Image --> Adjustments-->Brightness/Contrast
A new window will appear.
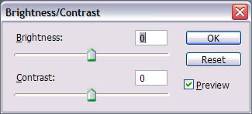
Sliding the Brightness cursor to the left or right will decrease/increase the brightness of the image. Brightness simply means how light or dark your image is. The same process applies to the contrast. Changing the contrast will allow you to change the difference between the bright and dark areas of a photo.
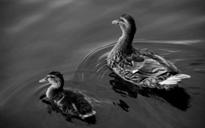
Maybe you have a photo where you’ve forgotten to turn on the flash or the flash wasn’t strong enough. This technique is useful for an image that is too dark.
Click here to see this in action.
Here’s the original photo (duck_orig.jpg):
Here’s the edited photo:
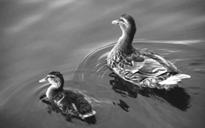
Which one do you think looks better?
Variations
Variations allow you to adjust the contrast and color of an image by using several preview thumbnails. This tool is more comprehensive and gives you more control over the image than the auto adjustment features. Believe it or not, this tool isn’t even the most precise way to edit photos. However, for this class, we won’t need to worry about this. For anyone interested in learning more, just contact me, and I can send you some more information.
To access the Variations, click on Image --> Adjustments --> Variations. A new window will appear.
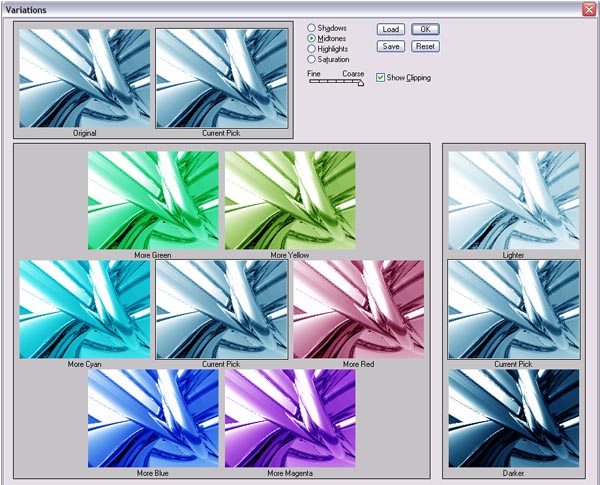
Point and click on each thumbnail until you are satisfied with the “current pick.”
Click here to see how to use Variations
Here’s a photo before (ship_orig.jpg)…
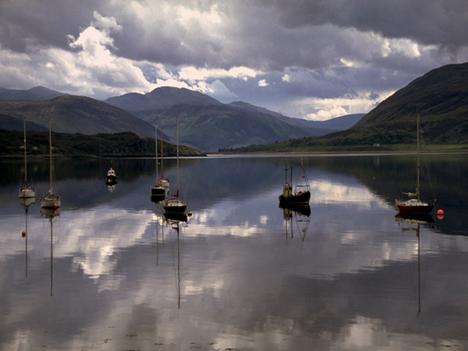
And after.
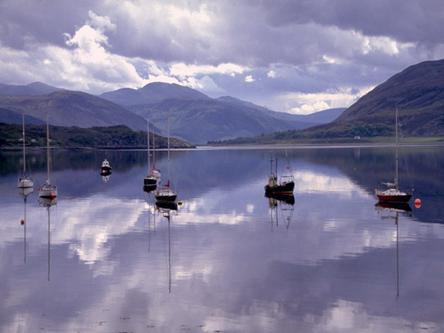
Photo Filters
Sometimes when you take a picture, you might feel that the image is too “hot” (with too many reds, yellows, and browns, etc). In this case, you could add a blue photo filter to help give the photo a “cooler” feeling. Using Photo Filters is similar to what a professional photographer does when he/she puts a colored lens filter on the camera. The entire image is coated with the desired color. This is done by going to Image --> Adjustments --> Photo Filter.
When you choose this, a new window will appear.
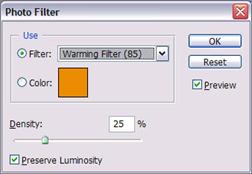
You can choose from several presets or choose your own colored photo filter. You can also choose how dense you want the color to be applied (how much of a color you want to appear).
Here’s how to use photo filters
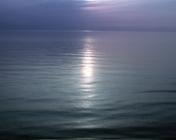
And a sample of an image before photo filters (water_orig.jpg)
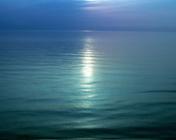
And afterwards.
Assignments:
Now, open files 3-1.jpg and 3-2.jpg from the class files. Use a combination of the brightness/contrast feature, variations, and photo filters to make these images clearer and easier to view. Please email me your completed works.
