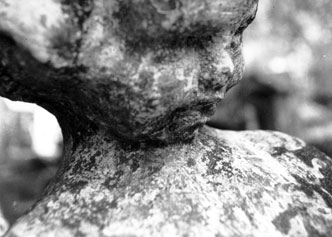
 A standard black and white photo before the glow effect in Photoshop.
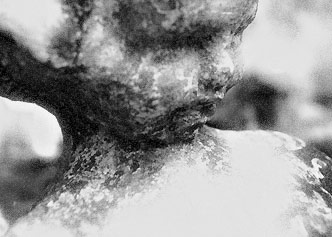 The same photograph after applying the glow effect.
Editing Digital Infrared Photos
With some simple editing, you can make your photos look like classic infrared film. I don't describe specific settings in this section because you should play around with them -- every picture is quite different and there are no real rules.
Desaturation
If you didn't set your camera to monochrome before shooting, now is the time to remove color from your photographs. Otherwise, they'd stay bright pink!
How to: Select the Image menu, then the Adjust menu and finally Desaturate.
Levels
Even if you adjusted your exposure times properly, your picture still may look too dark or too bright. To make the image more balanced, you need to adjust its levels.
How to: Select the Image menu, then the Adjust menu and finally Auto Levels.
Sharpen
This is an optional effect to make the edges of objects in your photo look a little crisper.
How to: Select the Filter menu, then the Sharpen menu and finally Sharpen.
Creative effects
Grain
Most infrared film has a natural fine grain to it. To emulate this in Photoshop, we have to add noise.
How to: Select the Filter menu, then the Noise menu and finally Add Noise.
Glow
Finally, a glow often surrounds objects that emit a lot of infrared light. Creating this effect in Photoshop is quite easy, but it looks best when it's subtle.
See the images to the left.
How to: Select the Filter menu, then the Distort menu and finally Diffuse Glow.
Colorizing different parts of your images and adjusting contrast in skies can also create drama. Flickr is a great source of inspiration when it comes to digital manipulation of infrared photos.