Final Cut Pro Tutorial
This tutorial is about how to do some basic editing techniques in a non-linear editing system, in this case Apple's Final Cut Pro. In this example we will use our interview with Brad Noblitt as an example. Follow along step by step through the entire process. If you have any questions please contact us.
Basic functions in non-linear editing
Launch Program
Editor
Log and Transfer
Basic Layout
General Structure
Basic Editing
Using Blade Tool
Making the Cut
Selecting the Cut
Editor
Log and Transfer
Basic Layout
General Structure
Basic Editing
Using Blade Tool
Making the Cut
Selecting the Cut
One of the first things to think about when you're about to work on a project is finding the right program or product for the job. If you are editing audio you might just stick with an audio editing program such as Pro Tools or Audition, instead of using Photoshop. Make sure you have the programs necessary to producing the desired effects. Also, prior to launching the program keep in mind where you will be storing your files. Having thought ahead you might be using an external hard drive or SAN to set your scratch disk. Finally, make sure your naming structure is consistent, so you can easily find your work.
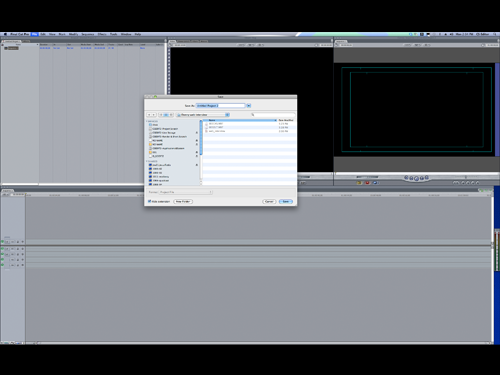
Make sure to properly name your project and ideally keep it with your related files. Also, one smart way to keep a running backup of your project is to enable the auto-save feature under user preferences. You can save every 5 minutes for example, without having to press a button.
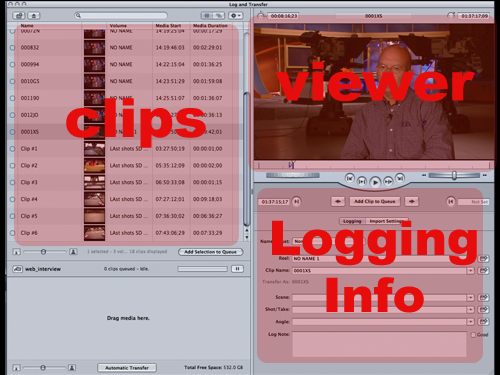
In order to bring your media into the program you might be doing one of two things. If you are capturing your media through a tape-based camera or tape deck, you will need to go to File > Log and Capture. If you are capturing media from a solid state memory card such as P2, SxS or AVCHD then you should choose File > Log and Transfer.
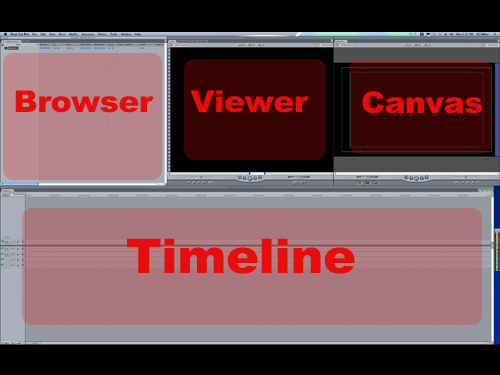
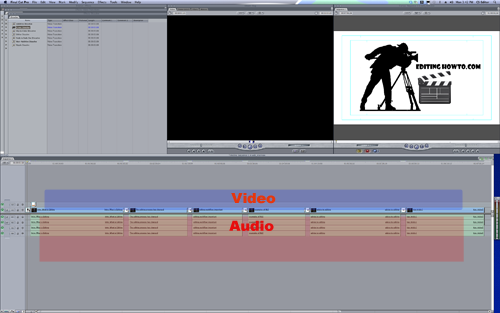
The layout of Final Cut Pro's interface is similar to other NLEs such as Avid. The structure consists of four basic windows. The browser is where all of files, bins, and sequences will be displayed and arranged. The viewer is an area to simply view the files from the browser. The canvas displays whatever content is arranged in the timeline.
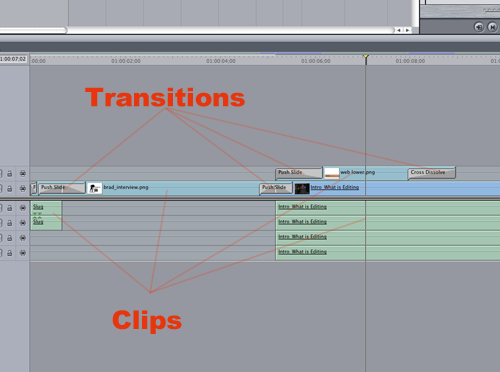
Here you can see the makeup of basic editing techniques. The clips are arranged in the desired locations, along with transitions.
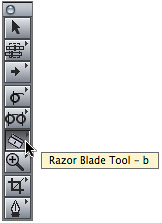
The tool palette contains some of the basic editing tools needed for a project such as: The arrow, pen, crop, zoom, blade, roll edit, insert, and overwrite edit tool.
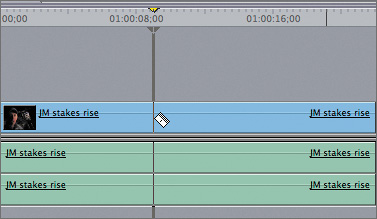
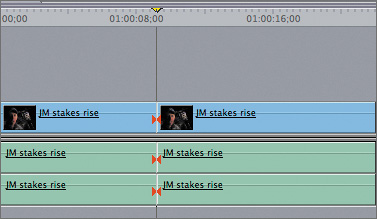
The playhead is the long line that tracks your point in time in your sequence (pictured here by the yellow arrow). To select a cut, simply park your playhead on the clip you would like to cut, making sure the blade tool is selected (pressing the B button).
Once you have made your desired cut, you can highlight it, and press (shift + delete) to remove the clip and move the remaining part of your sequence in its place.
So, now you have learned how to perform some basic editing functions in Final Cut Pro.


