Painless Wiring Headlight Relay Conversion Harness Kit
[home] - [about me] - [mustang]
| .modifications list. | .times. | .pictures. | .videos. | .tech articles. |
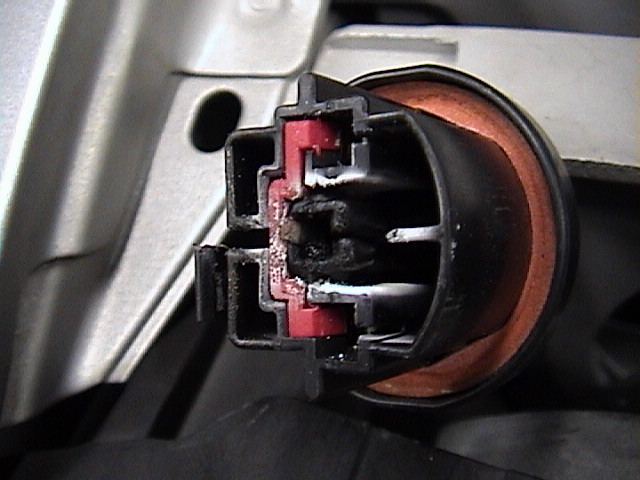
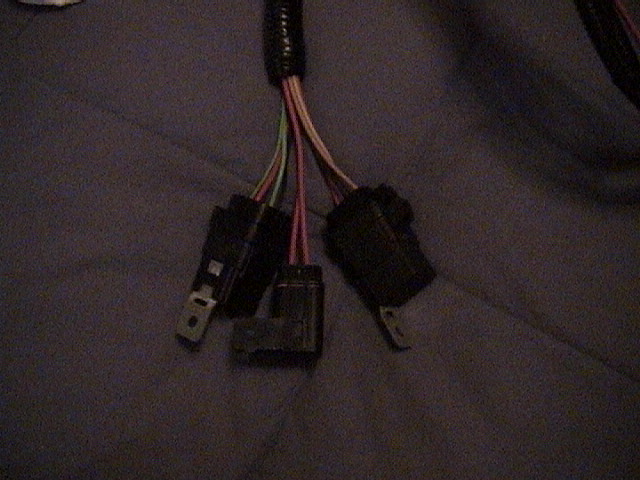
A couple weeks ago I had my passenger side xenon fry out the connecting clip
as you can see here.
After talking to Scotty (Spreadman from StangNet.com), I purchased the
Painless Wiring Headlight Relay Conversion Harness Kit (part # 076430816) over @
http://www.jegs.com for $86.98 shipped to my door. The installation of the
kit was very simple and straight forward. The kit is very neat, with each set of
wires (except power & ground) are covered by the plastic tubing much like the
stock wires (I don’t know the name) Also, the butt connectors were included for
the splicing along with screws to hold the relays/fuse and finally eyelet
connectors for the power and the ground wires. Since I know many of you are
running Xenon’s and each equally have the same chance of this happening to you,
I figured I’d do a write up to give you guys an idea of what lies ahead.
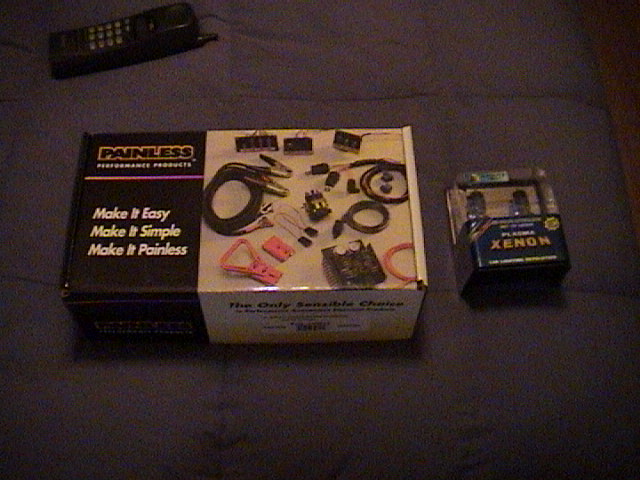
Here is the box it was shipped in along with the villains that fried the old
harness.
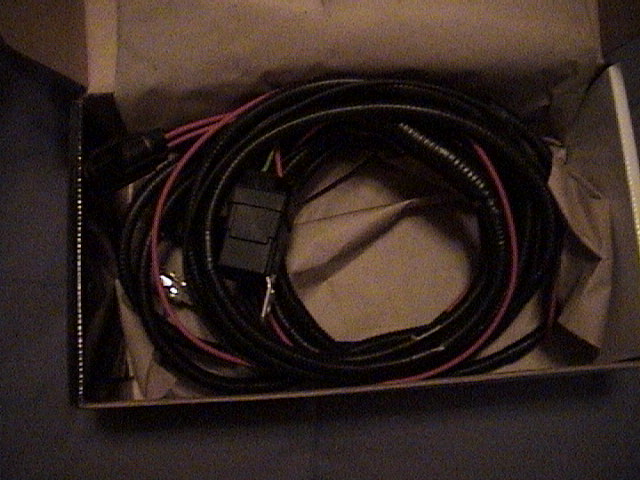
Inside the box the harness is neatly coiled up
The wiring harness had five different legs.
The first and main grouping is the two relays and fuse (3 of six "legs").
(see below)
There is then the signal/control wires (1 of 6 "legs")- These wires will
be spliced into the existing harness which will spread to two individual
separate "legs" (see next step)
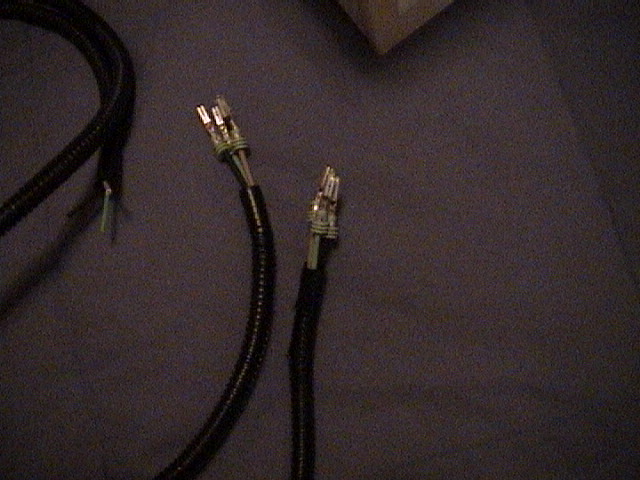
And then after the control wires it branches into the left and right future
headlight harnesses (ready to be snapped into blue clips) (2 of 6)
I didn't bother showing an additional leg, (not counted in the 6) because it is
simply a Ground wire (black) and power wire (red)..
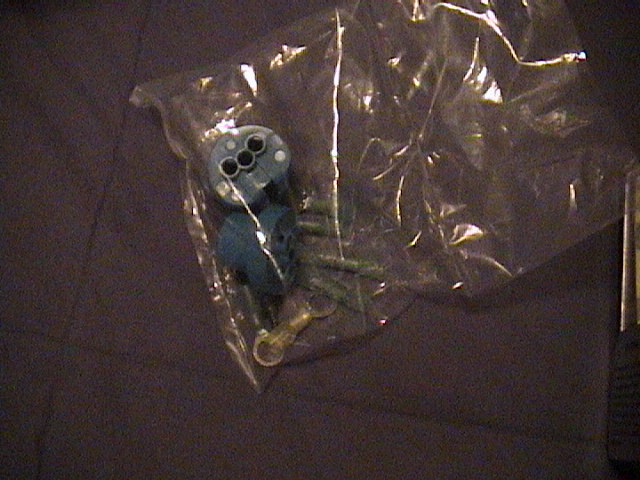
Packaged along are the two new future connectors along with the butt connectors
and eyelets-
Now for the installation.
To start off I began by removing the negative terminal of the battery so that I
had no power running through the wires.
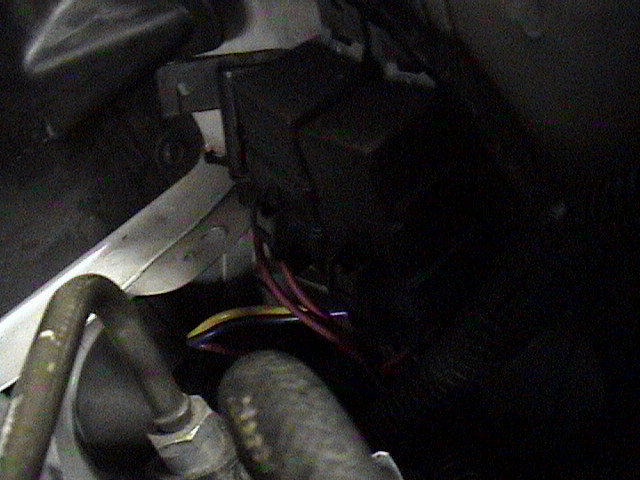
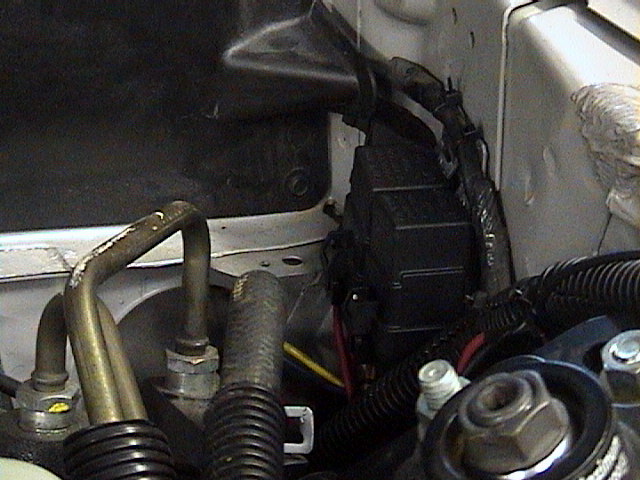
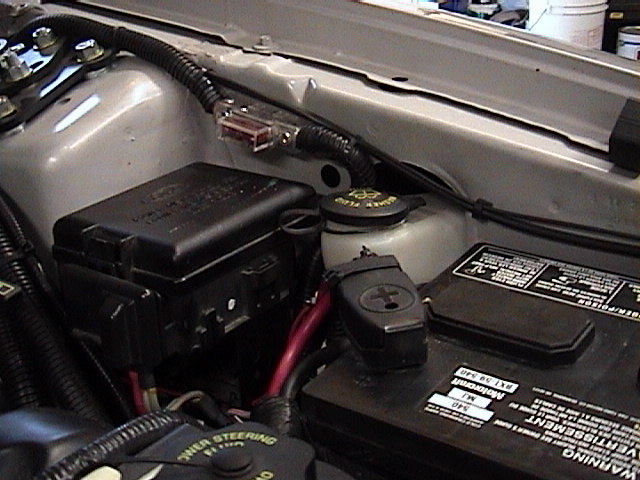
The first step was deciding where to hide the relays and fuse. .I decided to
bundle up them in the back right hand side of the engine compartment so that I
could simply piggy back on all the other tubing to make the wiring kit
installation much cleaner.
Using twist ties, I secured them along the inside of the fender. Just behind the
strut tower.
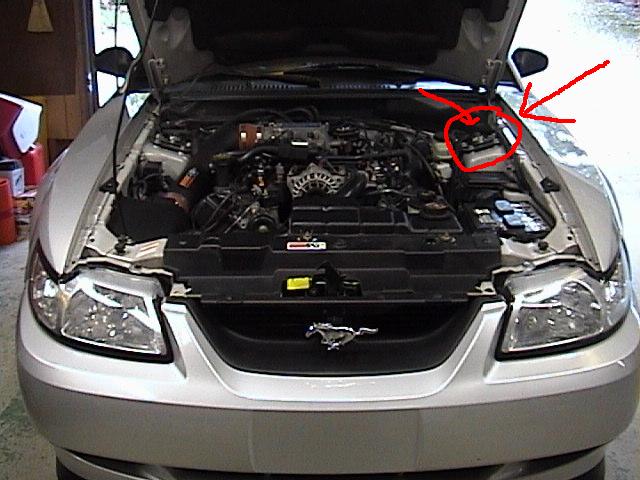
I then went from there and ran the individual tubing to each light in order to
set everything up. For the passenger side, one leg of the harness is longer in
order to reach so I ran it up near the battery and then over the top of the
radiator and under the radiator cover to keep it hidden and neat.
For the drivers side, I was able to zip tie both the control wire and the
drivers side leg to each other and existing wires to keep it concealed.
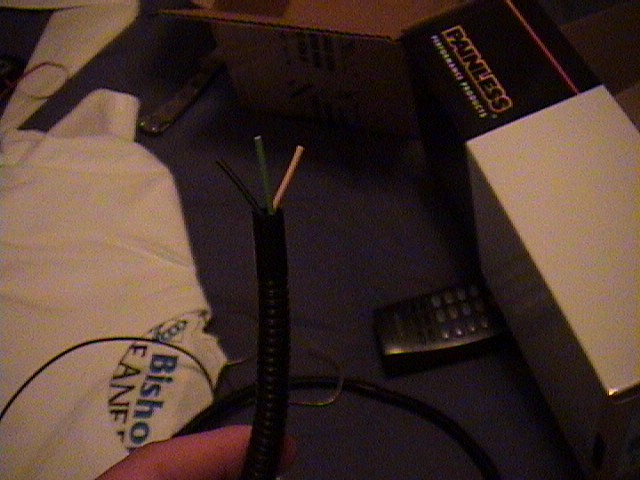
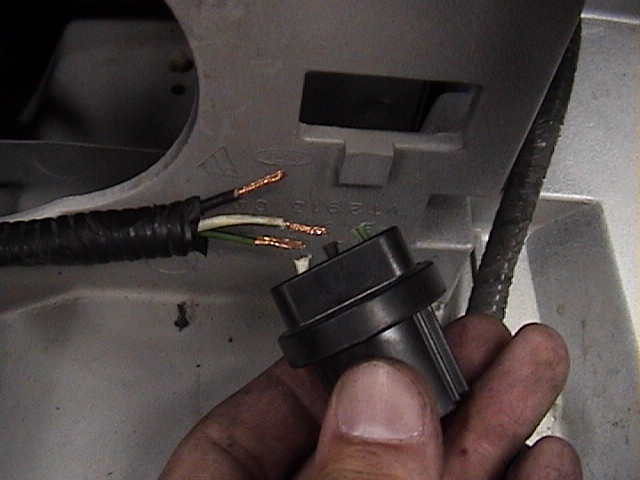
I then clipped off the stock drivers side harness clip and stripped the wires in
preparation to connect the stock controls to the new harness control wires.
I forgot to take a picture of the next step, but I’ll snag one later. You will
then use the supplied but connectors to splice the control wires of the new
harness to the old harness control wires that you just cut. This will now
control the entire NEW harness and will now power both the new left and right
harnesses. At this point I simply took the old passenger side light connecting
clip and hid it away in the body.
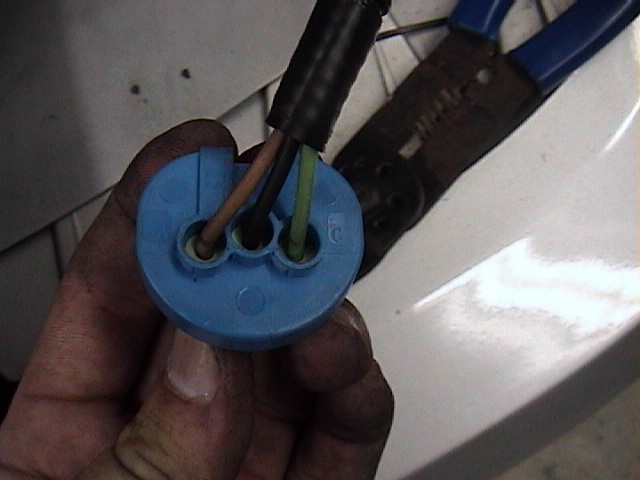
I then connected the wires to each harness clip as per the directions. There is
a different sequence for the wires between the 9007 and 9004 headlights. Since
our mustangs use 9007, the wires were in order: tan, black, and green (with the
clip up).
I did this to both sides, and then went around the engine bay to secure each leg
with zip ties in order to keep everything nice and tidy.
The last thing to do was to run the power wires. For this step I simply fed the
ground wire along the factory ground wire and grounded it at the ground point
just behind the headlights. I did not take a picture of this, but I will along
with the butt connectors. I also just tapped the power wire onto the positive
battery terminal.
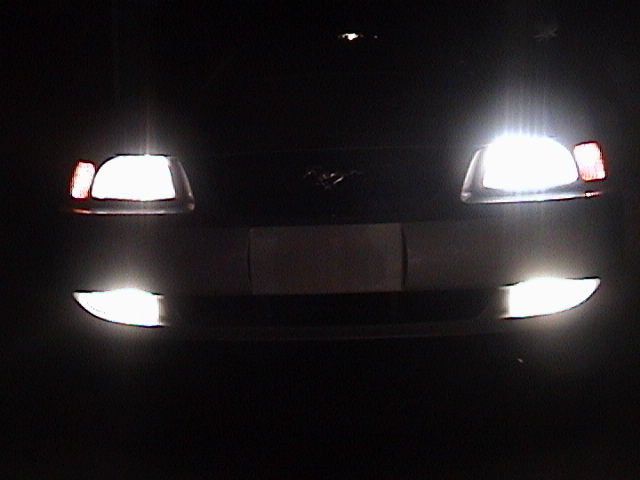
After everything was said and done, I gave it a try and fired ‘em up. Everything
lit up good (thank god) and was connected right. The install was a breeze.
The lights now seem to be brighter and I no longer have to worry about the
integrity of the harness running the higher wattage bulbs. I give this kit a 10
out of 10 for cleanliness and ease.